
Walk into any home remodeling showroom, flip open an architectural magazine, or scroll through real estate feeds, and home renovation is almost exclusively pitched as an aesthetic endeavor. Property owners are routinely dazzled by the immediate visual power of polished quartz countertops, satin brass gooseneck faucets, custom shaker cabinetry, artisan zellige backsplashes, and wide-plank white oak flooring. These cosmetic finishes offer immediate gratification, photograph beautifully for social channels and real estate listings, and draw compliments from houseguests.
Committing to an engineered renovation sequence requires discipline. It demands that you treat the property like an interconnected organism, solving hidden vulnerabilities before spending a single dollar on surface finishes. By addressing foundational stability, building envelope performance, and core mechanical systems in their proper technical order, you construct an enduring platform upon which future aesthetic upgrades can permanently and safely rest.
1. Stabilizing the Ground and Foundation Defenses
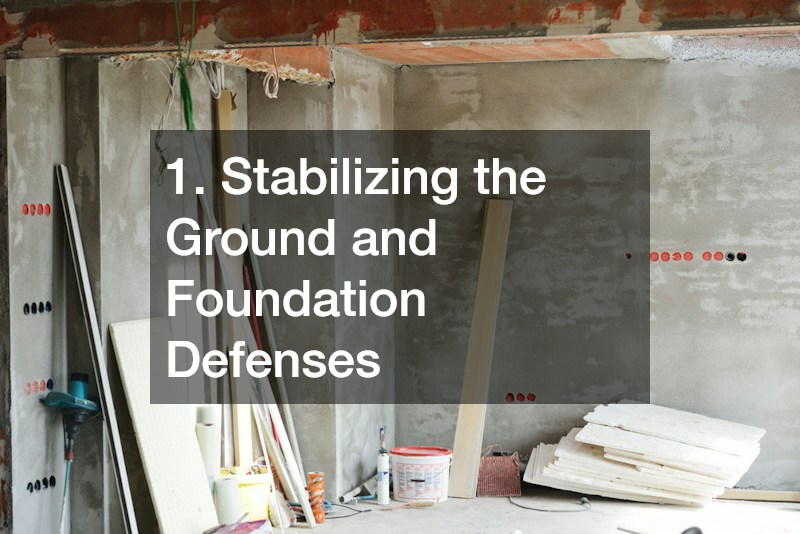
Every physical stress experienced by a residential structure eventually terminates at the soil interface. The concrete footings and foundation walls of your home do not exist in a vacuum; they interact constantly with the surrounding geology, fluctuating groundwater tables, and surface runoff. Neglecting the subterranean environment while planning an interior transformation is among the most catastrophic miscalculations a homeowner can make. Before ordering high-end custom cabinetry or laying thousands of dollars in stone, you must verify that the ground beneath the structure is mechanically stable and thoroughly protected from hydrostatic pressure.
Establish Positive Grade Fall to Divert Hydrostatic Pressure
The primary catalyst for structural basement movement, cracked masonry, and interior dampness is poor perimeter grading. Over decades, native soils settled around foundation perimeters, and repeated applications of decorative wood mulch gradually build up the grade line directly against exterior framing. When rainfall accumulates along an improperly pitched foundation, water pools against subterranean walls, creating immense lateral hydrostatic pressure. In expansive clay soils, this hydration cycle causes soil volume to expand significantly, shoving foundation walls inward, opening structural shear cracks, and generating capillary moisture wicking that ruins interior drywall and timber framing.
Remediating this hazard requires deliberate earth-moving interventions to establish positive drainage contours:
- Clear away decades of accumulated mulch, composted organic matter, and settled topsoil beds resting directly against siding and foundation stems. Re-establish a strict minimum five-percent fall away from the foundation line, translating to a downward drop of at least six inches over the initial ten horizontal feet.
- Relying on hand shovels is rarely sufficient when recontouring significant yard grades or cutting back compacted hardpan. Engaging experienced operators for specialized excavating allows for the precise mechanical stripping of old clay layers, the cutting of functional swales, and the rough-shaping of diversion contours without rupturing buried utility, gas, or communication lines.
Install Subsurface Interceptor Drainage and Structural Earth Retaining
Surface grading alone cannot counteract elevated seasonal groundwater tables or severe hillside runoff directed toward your home. If your parcel sits on a slope or rests at the base of an uphill drainage basin, underground water tables will migrate through soil strata, exerting vertical and lateral force on basement footings and floor slabs. Without a controlled pathway of escape, this water enters through cold joints — the intersection where the poured concrete floor slab meets the vertical foundation wall — flooding living areas and destroying floor underlayments.
To neutralize subsurface water tables and manage severe topography, implement these technical mitigation steps:C
- When expanding usable yard space or cutting into an unstable slope near the house, never rely on loose dry-stacked fieldstones or landscape timbers. Incorporating engineered hardscaping services ensures that retaining systems over three feet tall are built using reinforced segmental concrete retaining units, complete with buried base courses, crushed-rock drainage zones, and dedicated weeping pipes.
- For retaining walls managing significant hillside weight, require your contractor to install bidirectional polyester geogrid reinforcement layers pinned horizontally between block courses and extended back into the compacted soil mass behind the wall. This structural interlock distributes active earth pressures, preventing slope slides and protecting your foundation from massive rotational soil loads.
2. Hardening the Exterior Perimeter and Drainage Pathways
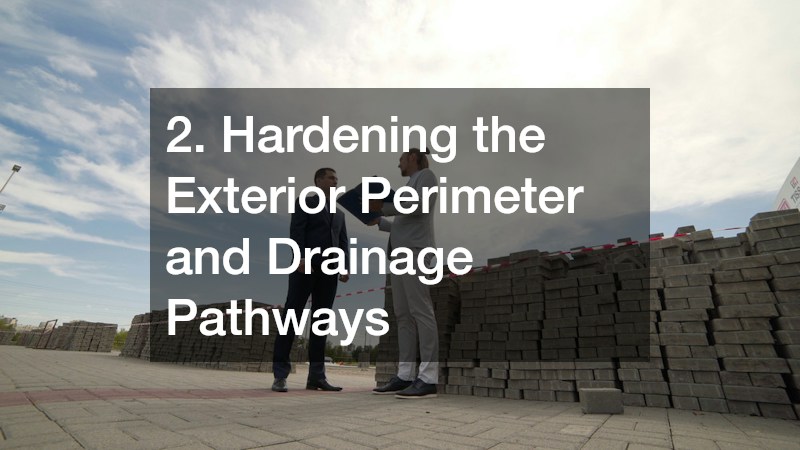
Once major earth-moving and grading corrections are complete, attention must shift to the immediate hard surfaces and perimeter vegetation surrounding the structure. Driveways, stone walkways, front entry stoops, and boundary turf areas are not merely aesthetic landscaping; they serve as critical hydraulic components that either protect or undermine your home’s exterior envelope. Mismanaged perimeter infrastructure directs thousands of gallons of stormwater directly into foundation footings and garage slabs, slowly cracking subfloors long before a kitchen remodel is even drafted.
Regrade Driveways and Walkways to Prevent Water Pooling at Sills
Flatwork concrete slabs, asphalt driveways, and masonry entry walkways are prone to settling over time. As soils consolidate or wash away beneath poorly compacted base materials, concrete slabs often tilt back toward the structure, creating a reverse slope. During heavy rain events or winter snowmelts, these sunken paved surfaces act as funneling channels, directing water straight into garage thresholds, crawlspace vents, and structural sill plates. Installing new cabinetry or hardwood flooring inside an adjacent room while water pools outside the threshold is a recipe for costly moisture damage.
To correct failing flatwork and ensure controlled runoff, prioritize these execution measures:
- Inspect all exterior flatwork running adjacent to the foundation, including driveways, patios, and service walkways. Any hard surface exhibiting an inward tilt must be systematically demolished, cleared, and repoured to establish a permanent outward slope of at least one-quarter inch per linear foot away from exterior walls.
- When replacing deteriorated asphalt or cracked concrete flatwork, contracting a reputable local paving contractor guarantees that the subgrade is properly excavated, proof-rolled to discover soft spots, and reinforced with a minimum six-inch depth of compacted dense-graded aggregate before pouring high-strength concrete or laying commercial hot-mix asphalt.
Manage Root Zones and Establish Deep-Rooted Turf for Soil Stability
The biological components of your landscape play an active mechanical role in protecting the structural platform of your home. Large shade trees planted too close to foundation walls act as powerful hydraulic pumps, extracting hundreds of gallons of moisture from the soil daily during dry summer periods. This localized moisture extraction causes differential soil consolidation, prompting footings to drop unevenly and generating diagonal step cracks across exterior brickwork and interior drywall. Conversely, bare, unmanaged ground encourages rapid surface erosion that strips away newly established protective grading.
Protect structural integrity by integrating balanced landscape maintenance practices:
- Map the proximity of mature deciduous trees to your structural perimeter. Trees whose drip lines extend directly over the roof framing or whose major surface roots approach within ten feet of the foundation should be evaluated by a certified arborist for root-pruning barriers or professional removal to prevent structural footing displacement.
- Large swings between saturated and bone-dry soil conditions are the primary driver of differential foundation settlement in expansive clays. Maintaining regular seasonal lawn care helps regulate soil moisture profiles evenly throughout the year, keeping soil volume stable and avoiding extreme shrinkage along foundation perimeters.
- Where ornamental trees or aggressive shrubs sit near paved pathways, install vertical high-density polyethylene root deflectors thirty inches into the soil. These smooth, rigid sheets force root growth downward into deeper soil strata, preventing surface roots from uplifting concrete slabs, destroying driveway edges, or cracking drainage lines.
3. Securing Overhead Weather Defense and Attic Envelopes

A home’s exterior defense is only as strong as its overhead water-shedding system. Gravity works continuously to draw rainwater and atmospheric moisture downward into the home’s framing cavities, where it degrades structural dimensional lumber, creates microbial mold colonies, saturates ceiling drywall, and destroys the insulating properties of attic batting. Remodeling an interior space like a master bath or gourmet kitchen beneath an unverified, aging roofing system puts your capital at substantial risk. Overhead defense must be thoroughly engineered, fully flashed, and sealed before any fine interior trades begin work.
Rebuild Vulnerable Valleys, Flashing Transitions, and Ice Barriers
An effective roofing system is not just an outer skin of decorative shingles; it is a layered, multi-component water-shedding assembly. Premature roof failures rarely occur in the wide, open field of shingles; they happen at transitions, directional plane changes, and penetrations. Flashing details around valleys, dormer step intersections, plumbing stacks, skylights, and chimneys are the common failure points where water enters silently, traveling along structural rafters for years before manifesting as an obvious interior ceiling stain.
To guarantee watertight overhead protection, implement these technical requirements:
- Avoid the temptation to install a second layer of shingles over existing materials to save upfront costs. Demand a complete tear-off down to the bare wood sheathing, allowing an experienced roofing contractor to locate and replace soft, delaminated, or rotted oriented strand board with durable five-eighths-inch exterior-grade plywood for maximum nail pull-out resistance.
- In geographical zones subject to sub-freezing winter climates, snow accumulation melts over warm attic zones and refreezes along cold, uninsulated eaves, generating destructive ice dams. Require your installation crew to apply thick, self-adhering modified bitumen membranes extending from the roof edge to at least twenty-four inches inward past the home’s interior heated wall line.
Seal Large Wall Penetrations and Insulate Attached Utility Portals
A frequently overlooked thermal and weather vulnerability sits right at the building envelope: the large overhead door portal leading into an attached garage or workshop. Attached garages represent massive structural voids that share framing, partition walls, and ceiling planes with interior living spaces, including master suites and extended kitchen layouts. When this large opening is poorly weather-stripped, air leaks through, turning the garage into an unconditioned wind tunnel that chills adjacent rooms, invites pest intrusion, and introduces high humidity levels into wall cavities.
Remediate this major envelope vulnerability with these technical measures:
- Old uninsulated wood or thin single-skin steel garage doors act as massive thermal bridges. Partnering with a professional garage door company enables you to install triple-layer insulated steel doors injected with continuous polyurethane core insulation, delivering R-values of 16 to 20 to isolate the building frame from extreme outdoor temperatures.
- Standard vinyl stop moldings dry out, crack, and pull away from door jambs over time. Install UV-stabilized, dual-lip vinyl or EPDM rubber weather stripping around the top and side jambs, adjusted to form a continuous, airtight seal against the face of the door when closed.
- The interface between the bottom of an overhead door and the concrete slab is notorious for letting in blowing snow, driving rain, and rodents. Install an oversized, heavy-duty U-shaped EPDM rubber bottom seal seated inside an aluminum retainer track, paired with an elevated neoprene threshold ramp anchored to the concrete slab to block wind-driven water.
- A poorly balanced overhead door places immense mechanical strain on electric operators and framing mount brackets, posing a safety hazard and causing incomplete closures that leave air gaps. Ensure certified technicians balance high-cycle oil-tempered torsion springs, secure vertical tracks to structural wall framing with heavy lag screws, and set automatic down-force safety limits.
4. Upgrading Structural Framework and Subfloor Tolerances
The spatial trends of modern interior design lean heavily toward open floor plans: removing dividing walls to unite cramped kitchens with dining and living spaces, creating expansive sightlines, and building sweeping islands topped with thick natural stone slabs. However, older homes were engineered with distributed weight networks, where multiple interior partition walls act as stabilizing chords or hidden bearing lines. Removing interior partitions, altering door headers, or installing exceptionally heavy tile finishes without engineering oversight is a direct path to structural sagging, jammed doors, and cracked subflooring.
Before opening up interior spaces, follow these core structural principles:
- Never remove an interior wall based on informal visual assumptions. Hire a licensed structural engineer to calculate the exact dead and live loads resting above the space. The engineer will design a properly sized replacement beam — such as multi-ply laminated veneer lumber, glue-laminated timber, or a structural steel I-beam — engineered to span the required distance without mid-span sag.
- Framing alterations should match the tight tolerances and material standards used in modern new construction. This requires installing engineered steel hurricane ties, heavy-gauge joist hangers, and structural screws rather than common smooth-shank nails to prevent framing shift under dynamic loads.
- The concentrated downward weight resting on the ends of a new structural beam cannot simply terminate on an ordinary plywood subfloor. This point load must transfer down through multiple tightly nailed jack studs, through intermediate floor framing, down to structural columns, and directly onto dedicated concrete footings poured below the basement slab.
Stiffen Subfloor Framing to Eliminate Tile-Cracking Deflection
The hallmark of a modern kitchen or luxury bathroom is high-end floor coverings: large-format porcelain tiles, natural marble slabs, or intricate mosaic patterns. These masonry materials have exceptional compressive strength, but they have zero tensile flexibility. Standard residential building codes often tolerate a maximum floor deflection of L/360 for carpet or vinyl flooring (meaning a floor span of 360 inches is permitted to bend up to one full inch in the center under live design loads). If you install rigid stone or ceramic tile over an L/360 subfloor, the natural walking bounce will quickly shear mortar beds, pop tiles loose, and pulverize grout lines.
Upgrade your subfloor framing to commercial stiffness tolerances with these technical steps:
- Stiffen the underlying joist framing to an L/720 deflection standard — double the stiffness required by basic code. This structural rigidity is crucial for supporting large-format porcelain, heavy freestanding cast-iron soaking tubs, or massive commercial-style kitchen ranges without structural movement.
- For extensive structural retrofits involving dropped ceilings, relocated staircases, or multi-room open floor plans, consulting qualified custom home builders provides access to master carpenters and structural trades who can execute complex load reconfigurations, navigate municipal building inspections, and square up out-of-plumb historic framing.
- Never fasten subflooring with smooth nails alone, as they work loose over time and cause floor squeaks. Install a minimum three-quarter-inch exterior-grade tongue-and-groove plywood subfloor, laying down a heavy bead of polyurethane adhesive along the top of every joist and securing panels with solvent-coated, ring-shank screws driven flush every six inches along panel edges.
5. Overhauling Core Mechanicals and Restoring the Landscape
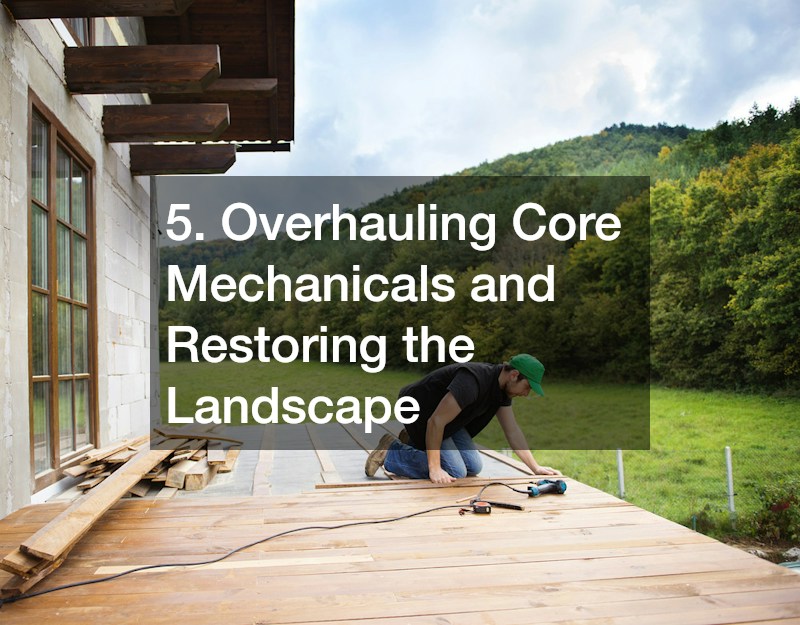
The mechanical heart of a residential structure — its heating, cooling, and air-distribution infrastructure — must be sized and detailed with engineering precision before you close up wall cavities and lock in room layouts. Upgrading high-end interior spaces like kitchens and master bathrooms without addressing duct design, airflow, and equipment efficiency creates chronic comfort problems, drafts, and high utility bills. Once mechanical adjustments inside wall cavities are finalized, you can turn your attention outward to restore construction-impacted soils, completing the comprehensive property rehabilitation.
Modernize Duct Distribution, Air Sealing, and Thermal Plant Capacity
A common mistake in home remodeling is investing in high-end cosmetic renovations while relying on an outdated, single-stage HVAC system coupled with uninsulated, leaky sheet metal ducts. In an unsealed home, roughly twenty to thirty percent of the conditioned air moving through ductwork escapes through loose joints, unsealed boots, and cracked seams hidden in unconditioned attics, basements, or crawlspace cavities. Neglecting these mechanical assemblies before installing permanent cabinetry means living with noisy registers, hot and cold spots, and poor indoor air quality.
Transform your mechanical systems into an efficient, whisper-quiet network with these upgrades:
- Avoid rule-of-thumb sizing when upgrading your environmental equipment. Demand that your mechanical contractor perform formal Air Conditioning Contractors of America Manual J load calculations to determine the precise heating and cooling needs of each room based on insulation levels, window exposure, and home orientation. Pair this with a Manual D duct design to ensure air pathways can deliver proper airflow without excessive static pressure.
- Replace noisy, inefficient single-stage systems with modern variable-speed inverter-driven heat pumps or high-efficiency condensing gas furnaces. Sourcing comprehensive Heating services ensures equipment is properly commissioned with matched indoor coils, modulating compressors, and electronically commutated blower motors that maintain steady temperatures and quiet air distribution while drawing minimal electricity.
- Install motorized bypass dampers and smart multi-sensor zoning thermostats to direct conditioned air precisely where and when it is needed. This prevents second-floor bedrooms from overheating while main-floor living spaces remain cold, balancing air delivery throughout the entire home.
Recondition Excavated Soil Beds and Establish Native Water Mitigation
The heavy machinery used during structural framing, foundation excavation, and exterior utility upgrades inevitably leaves a lasting mark on the surrounding grounds. Heavy track excavators, delivery trucks, and constant foot traffic heavily compact surrounding soils, crushing the natural pore spaces required for water absorption and healthy root development. Once the primary structural and mechanical milestones are achieved, you must repair this compacted terrain to ensure proper exterior drainage before embarking on fine interior finish work.
Restore soil function and complete the exterior transition with these proven steps:
- Heavy construction equipment can compress soil twenty-four inches deep, turning loose native dirt into an impermeable barrier that sheds rainwater straight back toward your foundation. Use tractor-mounted subsoilers or deep-shank rippers to shatter this hardpan layer, restoring internal drainage pathways and aeration throughout the work zone.
- Restoring the health and appearance of damaged turf after major site excavations requires comprehensive lawn renovations. This includes rough grading, removing buried construction debris, applying targeted mineral fertilizers based on detailed soil tests, and slit-seeding high-performance turfgrass cultivars that anchor the soil and prevent surface ruts.
When you respect the engineering anatomy of your home, you build lasting peace of mind. Invest in the earth, the framework, the envelope, and the mechanical infrastructure first. Build your property on an unshakeable platform, and every cosmetic improvement you make thereafter will remain secure, beautiful, and protected for decades to come.